Resistance bands remain incredibly popular because of their versatility. Whether your goals are strength training, flexibility, control, joint health, prehab or rehab, they’re an inexpensive yet amazingly effective piece of equipment.
Even if you focus more on cardio fitness, you still know that strength training should be part of your routine. But, the reality is that, especially if you’re pressed for time, it’s much easier to go for a quick run than get your gear together and head to the gym for a strength training session.
And that’s where resistance bands come in.
They will help you correct muscle imbalances and, in so doing, injury-proof your body and boost your performance.
Additionally, you can use them from the comfort of your own home because they take no storage space, and even 10 minutes a day can make a huge difference.
They might not look impressive, but there’s a good reason that PTs (physical therapists) and trainers alike swear by resistance band training for injury prevention! Resistance bands punch way above their weight in the health and fitness space, from strengthening to posture improvement and joint health. In fact, available research shows that the results are comparable to free-weight training in terms of muscle strength and size increase and body fat decrease.
Why use a resistance band to prevent injuries?
There are much fancier exercise equipment options on the market, so why do athletes keep returning to the humble resistance band?
Let’s have a quick look at (some of) the benefits because it’s a long list:
- Easy to use
- Easy to progress
- Easy to modify for your needs
- Effective for prehab and rehab
- Excellent for strengthening
- Safe and low-impact
- Ability to target smaller muscles and weak movements
- Works both major muscle groups and stabilizing muscles
- Builds stability, mobility, and joint health
- Develops control in crucial joints such as hips and shoulders
- Amazing versatility
- Inexpensive
- Portable
5 Resistance Band Exercises
Do 1 to 3 sets of each exercise with 8 to 12 repetitions to get the best results. Start with a lower resistance band before increasing the resistance with a heavier band. Always keep your movements slow and controlled, and avoid using momentum to complete the repetition.
1. Side Walk (Crab Walk)
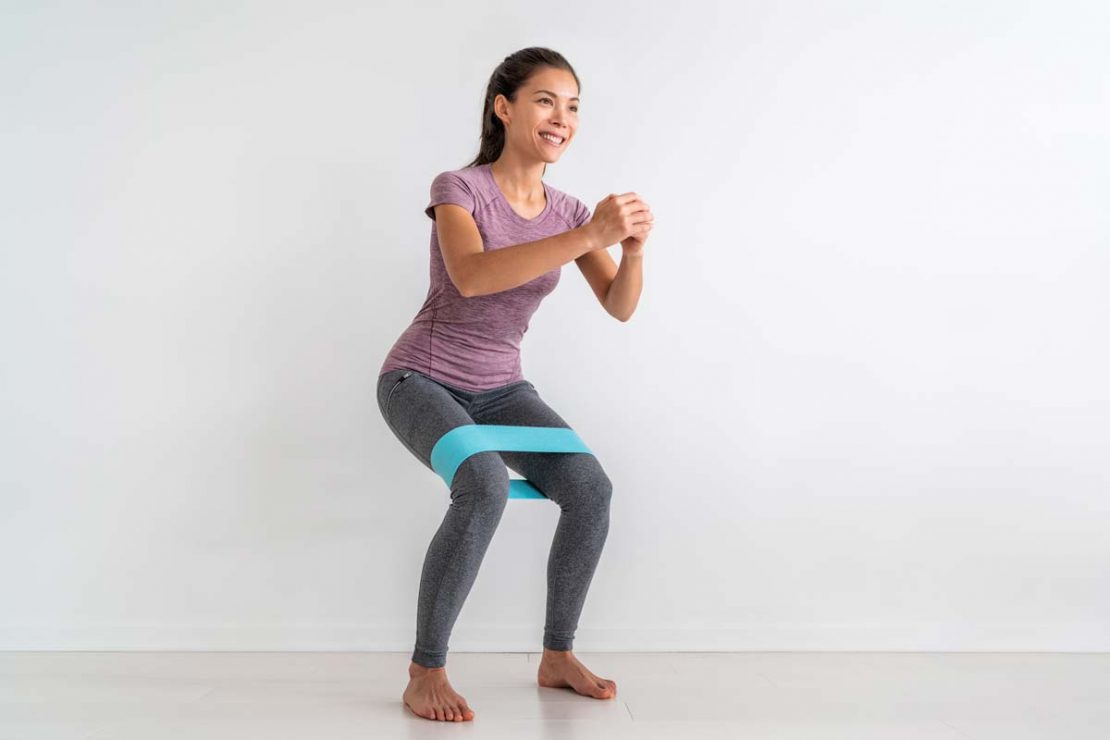
This exercise requires a shorter loop resistance band. Place both feet inside the loop and move the band up so that it sits around your thighs. Bend your knees slightly, upper body facing forward and hold your hands in front of (and away from) your body. Take a series of steps to the left, keeping the band under consistent tension for the duration of the exercise. Repeat by slowly crab-walking to the right.
Focus area: hips
Whatever sport you do, the “sidewalk” should be a go-to injury prevention exercise (either during your warmup or as a corrective exercise) as it builds hip strength and control. It also loosens the glutes, relieving tension on your hamstrings which can be a source of knee pain.
2. Clamshell
Again, using a shorter loop band, lie down on your side. Keeping your heels touching and your core engaged, rotate your top knee towards the ceiling away from your bottom knee. At all times, keep your core tight and your spine neutral to get the full benefits of the exercise.
Focus area: hips and buttocks
Clamshell with a resistance band is an ideal exercise for improving control in the hips and strengthening weak and/or tight buttocks. Strengthening the glutes provides support for your knees and lower back, making it an essential part of an injury-proofing routine. It’s also going to improve your control and movement quality and encourages increased active involvement of the glutes whether you’re doing squats, deadlifts, jumping, or running.
3. Banded Pull-Aparts
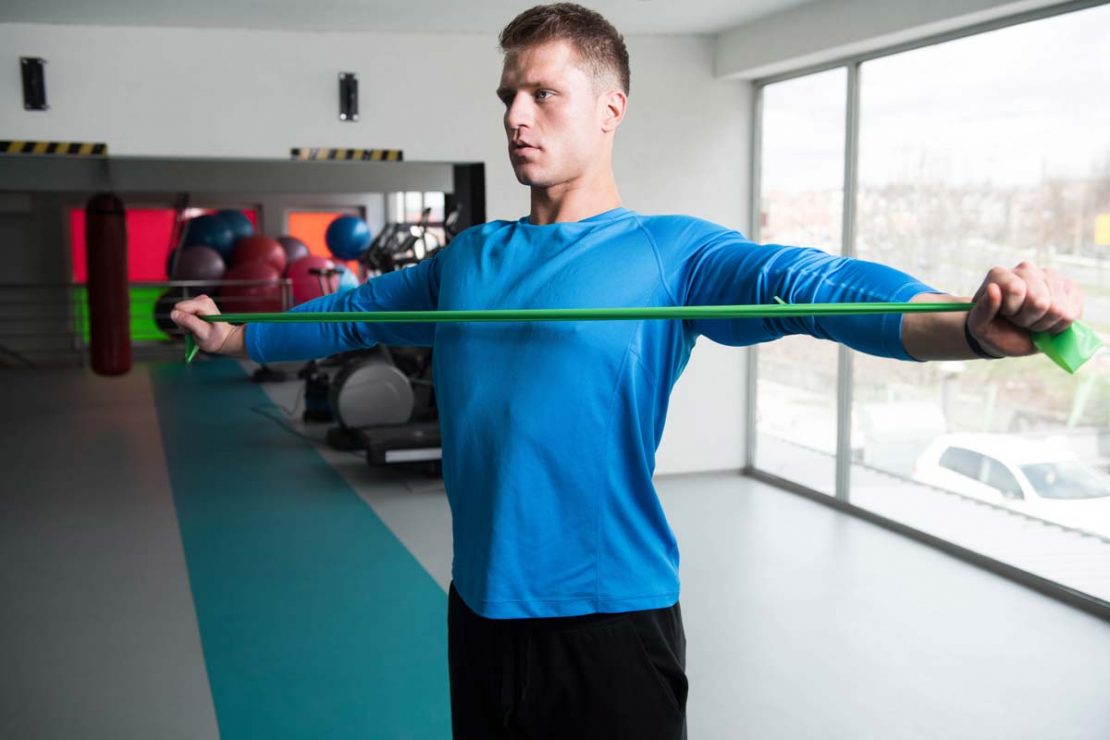
Hold the ends of the resistance band shoulder-width apart at shoulder height. Engage your core muscles and keep your arms straightened throughout the movement with a slight bend in the elbow. Slowly retract your shoulders and spread the band apart as you move your hands to the sides of your body, building tension in the resistance band before releasing. Concentrate on using the muscles in your upper back to complete the movement while tucking your shoulder blades back and down as your hands stretch out to the side. You should be able to feel your chest opening up and rotating outwards.
This exercise can be done with a loop band or a single resistance band.
Focus area: upper back including shoulder blades and traps
Desk posture is at the root of a number of common injuries as it can cause hamstrings to contract, hip flexors to freeze up, and your upper back muscles to weaken. This exercise targets the last of these issues. It builds strength and control in the muscles in the upper back that are weakened by poor desk posture and will translate into an improved posture, whether sitting or standing, and boosting your exercise performance.
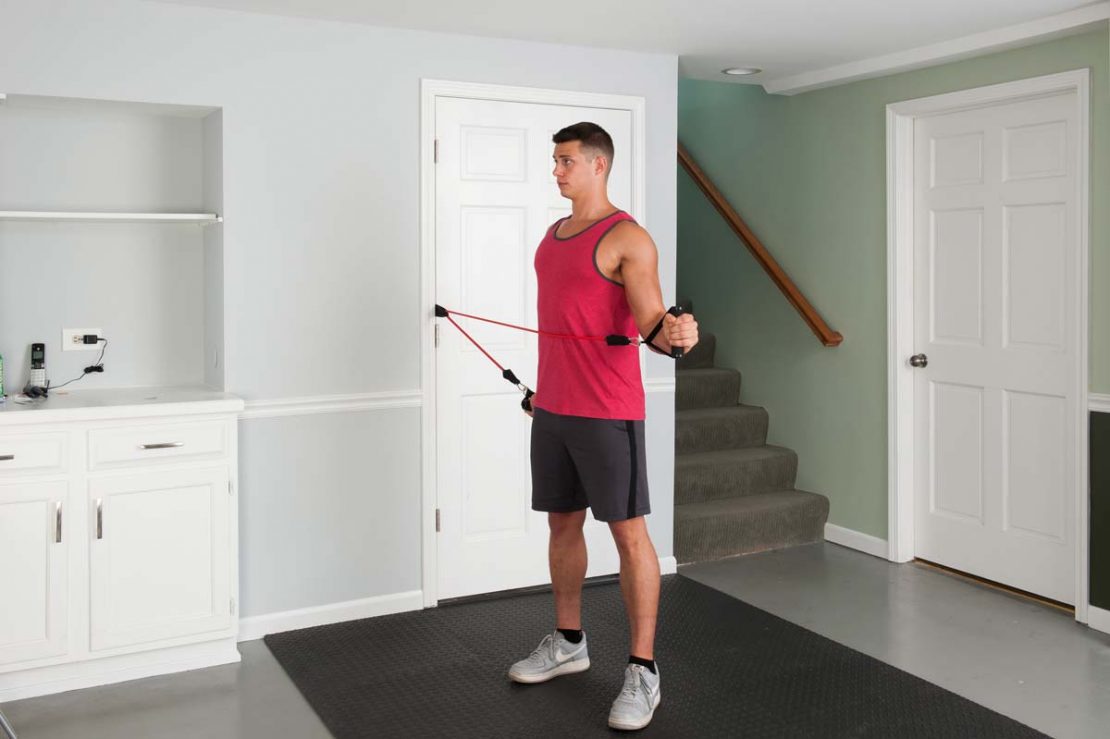
4. Core Rotation
Start by anchoring the resistance band around a stable point (or use an anchor-anywhere band), bend your knees slightly, and stand side-on so that the anchor point is in line with the side of your body. Holding the band out in front of you with both hands, extend your arms with elbows slightly bent, then rotate, pulling the band away from the anchor point, and feel your chest open. Repeat on the other side.
Focus area: core muscles and spine
Your core muscles include the transverse abdominis (muscles on each side of the naval), internal and external obliques (muscles that extend from ribs to pelvis), and rectus abdominis (the so-called six-pack muscles).
Core rotation is a great way to improve spine stability and range of movement, as well as core strength, and will combat many common causes of injury. The exercise works by introducing safe, gentle rotation and counter-rotation that, in turn, builds mobility, movement control, and strength in this often-neglected yet crucial area.
5. Reverse Fly
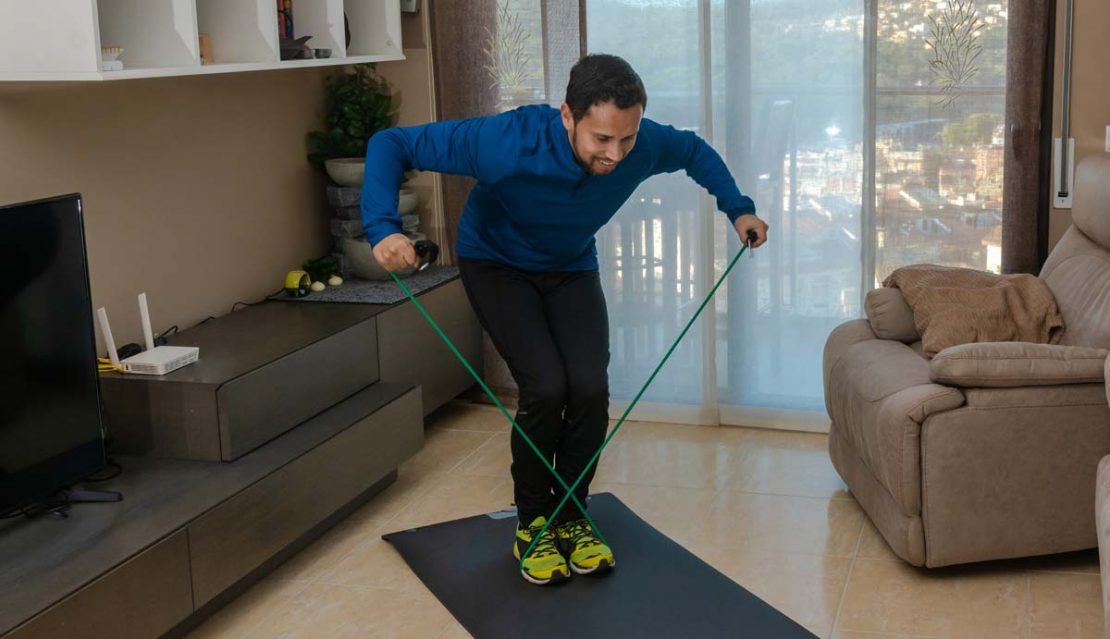
Start by standing in the middle of the bands, then pick up the ends with opposite hands so that the band crosses in front of your knees. Bend forward slightly with a straight spine and a slight bend in the knees. Then pull the band up and out until your hands are at chest height away from your body. Hold the position for a few moments, then slowly lower them down to your sides.
Focus areas: shoulders, upper back, and upper arms
This exercise helps improve posture and is ideal for people who spend a lot of time sitting in front of a computer. Other shoulder-specific strengthening exercises include front raises, lateral raises, and the standing row.
Looking for more exercises? Have a look at these resistance band exercises for many additional areas of the body.
How to Avoid Resistance Band Injuries
While resistance bands continue to be a great at-home option for building strength and protecting yourself against injuries, you have to use them correctly to avoid getting injured in the process. The most common and potentially severe risk is a resistance band that snaps (with improper use) and potentially strikes you.
The two main risk areas with resistance bands are:
- The band breaking
- Accidentally letting go of an end
In both cases, the band will snap towards the user, which stings at best, and, worse, can cause more serious damage.
To avoid injury when using a resistance band:
Focus on your form
Ensure that your feet are secure and that your core is engaged. When holding the band, ensure that you grip it in the center of your hand so that it doesn’t slip and snap during your reps. When standing on the band, check that it is under the center of the foot so that it won’t slip out and snap up, or use a sleeve for extra protection. Never use resistance bands on an uneven surface or pull the band towards your face, and avoid jerking the band.
Check your resistance band
Over time your band may develop weaker areas where it has been overstretched or experienced friction, so it’s important to check the condition of your band before you start your workout. Look for cuts, cracks, scratches, punctures, or discoloration, which might indicate that the band is damaged. Then begin each exercise slowly to monitor the band’s strength.
Do not overstretch
Don’t stretch a resistance band more than 2.5 times their length, and don’t release a band while under tension.
Remember that they’re not a toy
Resistance bands should only be used for specific exercises and must be used in the correct manner. Don’t place the handles over your feet where they can easily slip off and strike you.
Look after your resistance band
Resistance bands should be kept away from heat and stored inside, away from sunlight. To clean them, simply wipe them down with a damp cloth. Don’t use soap or other cleaning products as they may impact the band’s integrity.
In Summary
Whether you have a desk-related shoulder problem or want to strengthen neglected muscles for improved athletic performance on the field, a resistance band exercise will work for you.
From postural benefits to prehab exercise, these exercises strengthen weak muscles, improve your movement range, and joint rotation, and lead to better overall health. But remember that if you don’t use them correctly, you can cause serious injury.
If you have any questions about our bands before purchasing, please contact our customer success team.
Happy training!